We provide the majority of our systems with overlength lines that are only assembled on the ends that connect to the brake assist unit, so that the end user / installer may tailor the lines as desired to suit their individual tastes. While this may sound like a troublesome experience, it really is quite simple to accomplish using common tools and average skill levels. We occasionally have a customer state that they are having some difficulty working with their lines, and have posted this hose assembly tutorial here for general reference at any time / any place that has internet access.
Step One:
Loosely connect the braided stainless pre-assembled hose ends to the appropriate brake assist unit ports, then route the lines out to the PS pump and steering box / rack as desired. Mark them at the desired lengths by wrapping them with duct tape so that the desired cut point will be right in the middle of the taped area. Now that you have determined how you wish to route the lines and their respective desired lengths, remove the hoses from the vehicle.
Step Two:
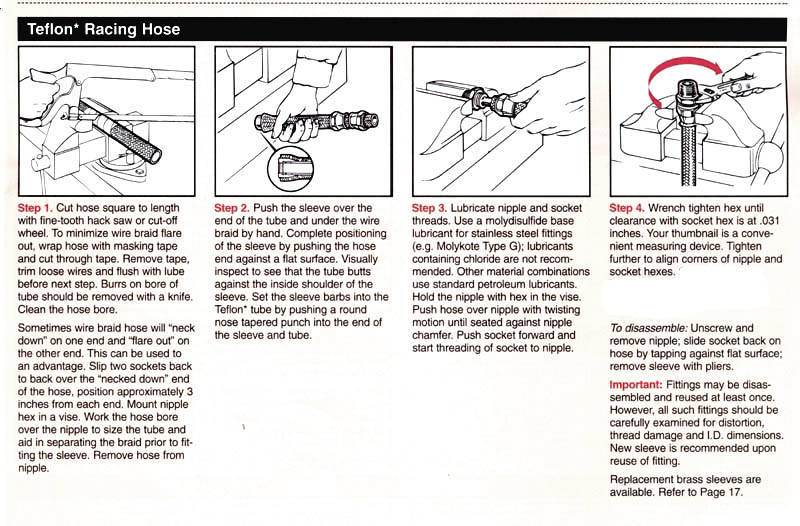
Using a high speed cutoff wheel on an air motor or Dremel tool, cut the hose as straight and cleanly as possible. This can also be accomplished using a very potent set of shears or a hack saw, though the high speed cutoff wheel seems to do the best job. We use a Beverly Sheer Cutoff Tool for large scale hose production, though even a sharp chisel can be used to sheer the hoses cleanly.
Step Three:
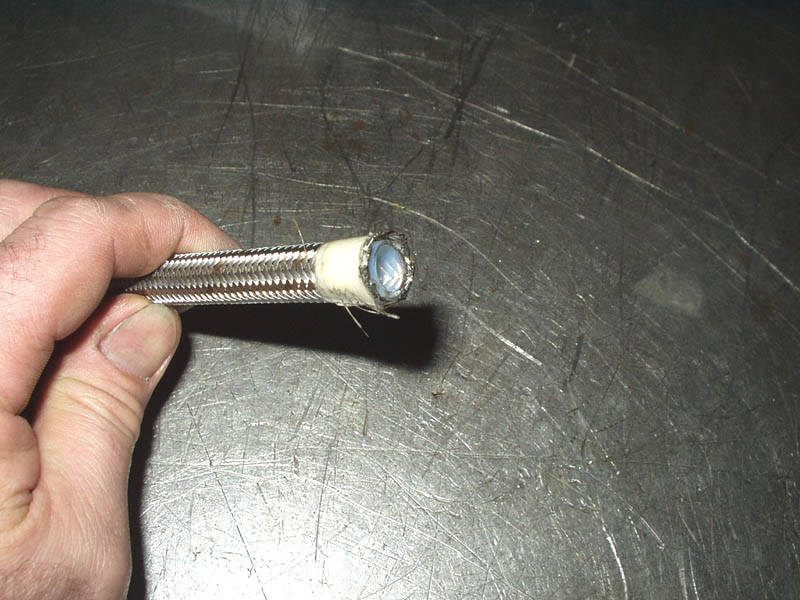
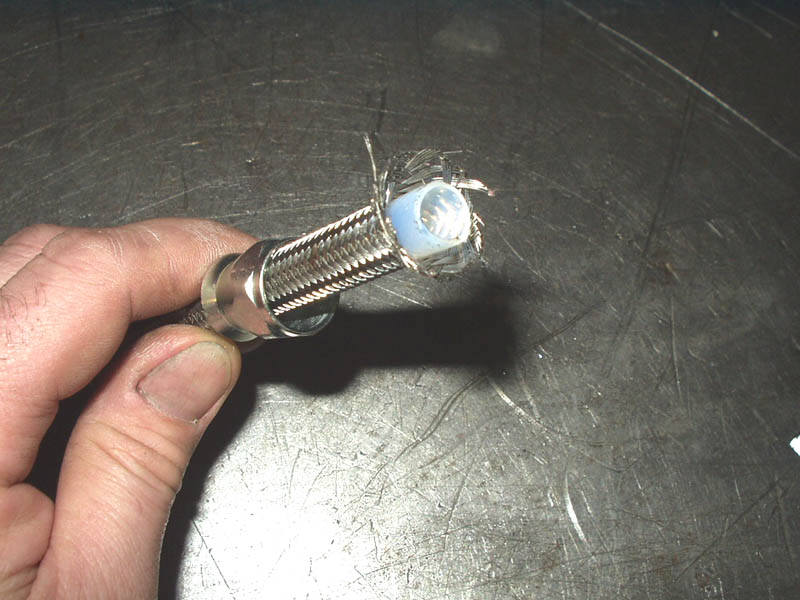
Slide the female hosenut down onto the hose with the threaded opening oriented towards the cut hose end. Carefully remove the tape from the stainless overbraid. Now take a blunt tipped screwdriver or alternate tool and spread the stainless overbraid away from the inner teflon hose liner about a 1/4".
NOTE:
Be very careful not to accidentally poke a hole in the somewhat softer teflon liner while spreading the braided stainless overbraid away, or leakage may occur.
Step Four:
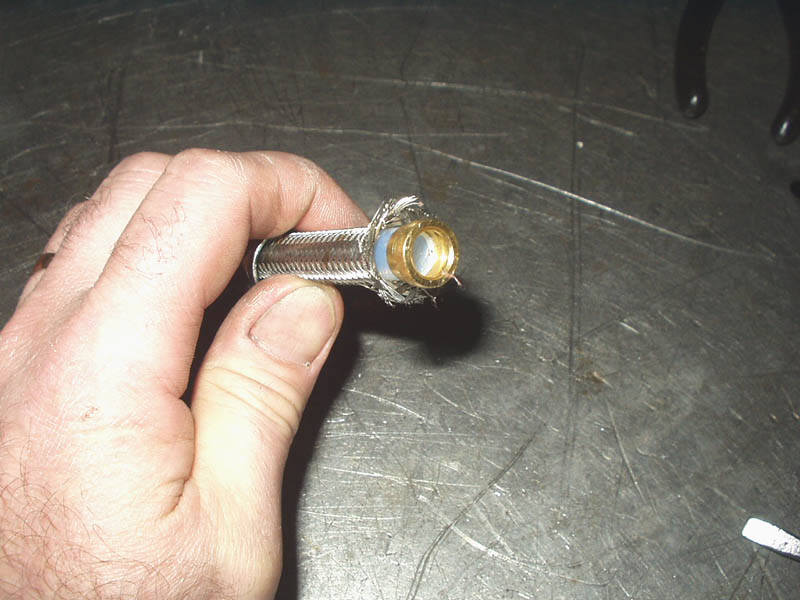
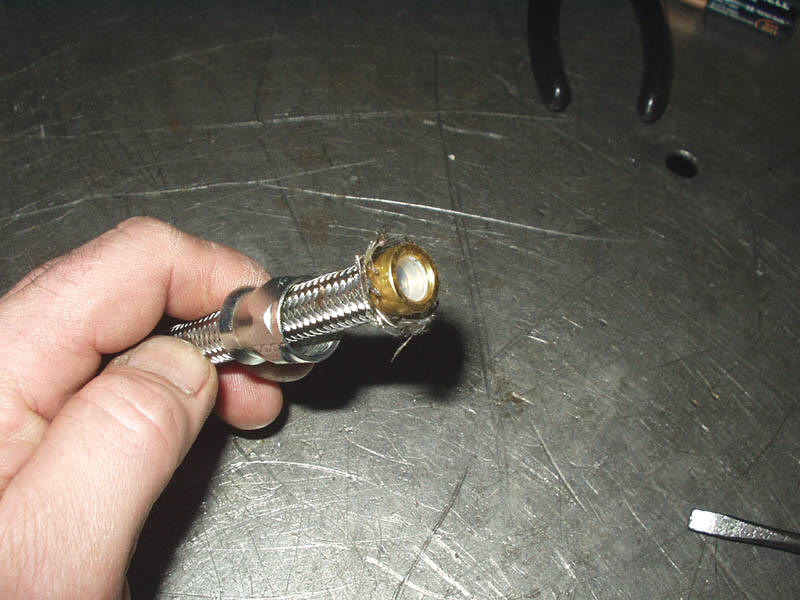
Carefully start the brass ferrule onto the teflon liner. The teflon liner is to go inside of this ferrule. Be carefull not to let the teflon liner fold over or distort during this step.
Step Five:
Grab the hose and push it firmly against a solid surface to push the teflon liner all the way into the ferrule until it seats against the flat inner stop.
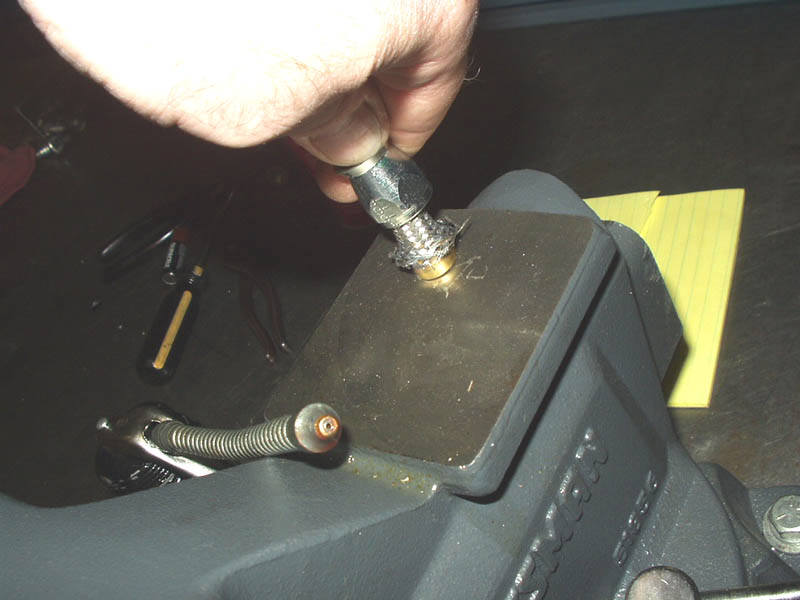
Step Six:
Grab a suitable tapered punch and expand the teflon liner into the I.D. of the ferrule firmly.
Step Seven:
Put a few drops of your favorite lube on the hose end male nipple, the threaded area of the hose end, and a drop also in the female hose end to aid assembly and prevent thread galling while tightening. (Any lube will essentially do, though we prefer to use the moly cam / lifter assembly lube here in house).
Step Eight:
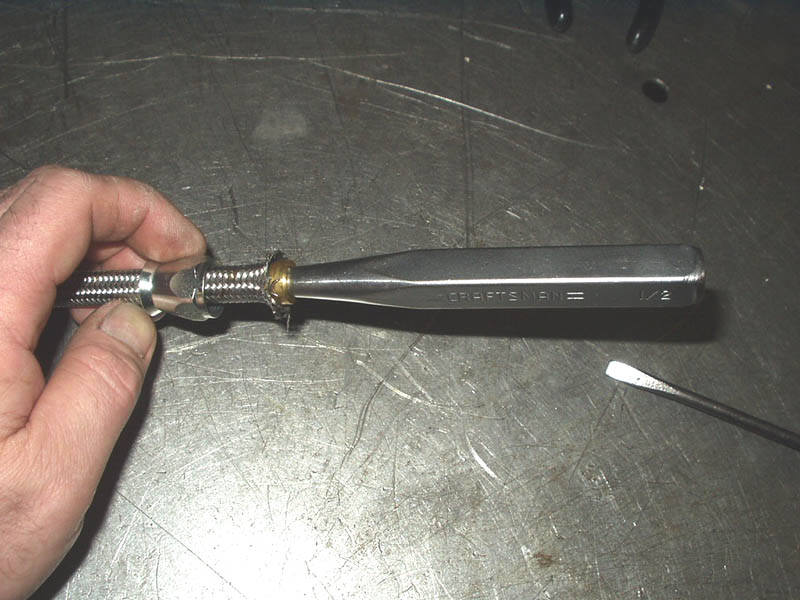
Grab the hose end and firmly insert it into the female hose end. You may at this point yank the hose end back out to make sure that the teflon hose liner has not folded over or been injured in any way during the hose end insertion process, then pop it back in after all is verified as proper.
Step Nine:
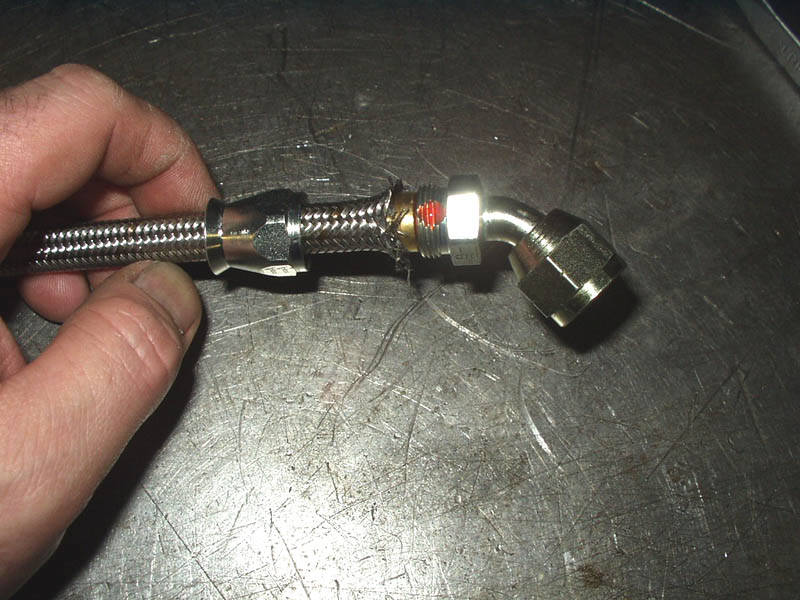
Slide the female hose nut firmly up and over the necked out stainless hose over braid until you can get the hose end threaded into the nut - be careful not to cross thread these two items.
Step Ten:
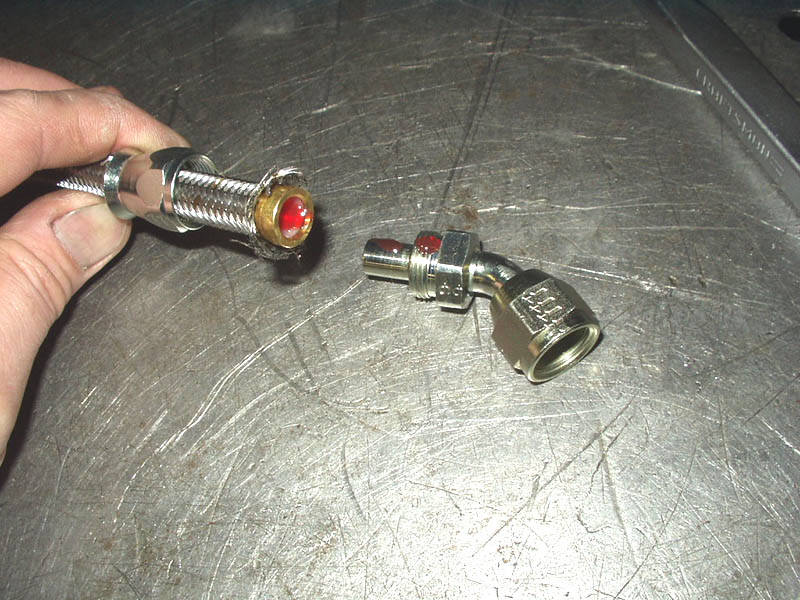
Using two 11/16" wrenches, tighten the hose end into the stationary hose nut until it is plenty tight (about 10-12 ft. lbs worth of torque). The gap between the hose end and the hose nut should be very little at this point. Doesn't this have to be tight? NO! The initial torque down crushes the brass ferrule down a few thousandths, which seals the teflon liner very well against the male nipple of the hose end, which means that you will still seal the joint positively. These lines seal so well that they can also be used with Nitrous without fear of leakage!
Step Eleven:
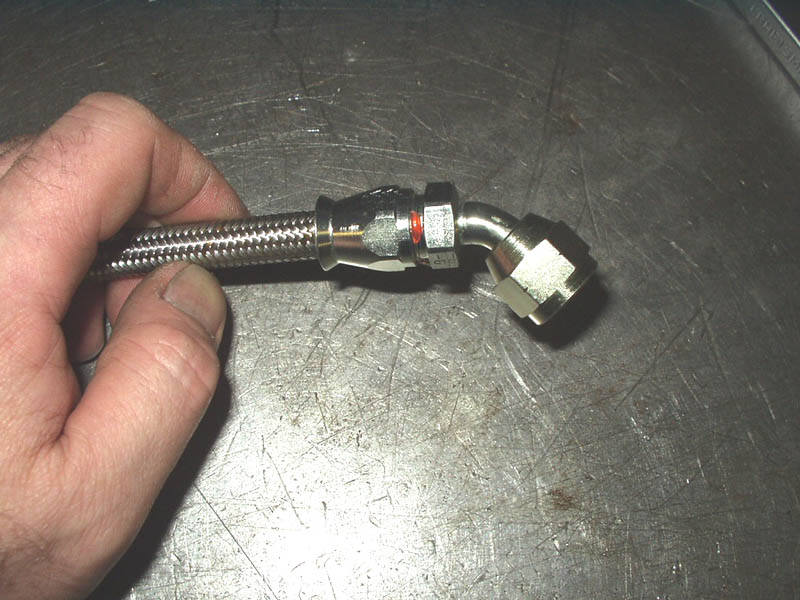
Using your favorite cleaner spray or hot soapy water, flush the assembled hose of any possible debris, then blow out the hose with compressed air.
Step Twelve:
Install the completed hoses into their respective locations and continue onto the various other system installation steps!
TIP: If you must disassemble one of these hose ends and repair it for any reason out in the field, you may use a tapered punch to carefully open the brass ferrule back up again just enough to get it back onto the teflon liner again. If the ferrule is too heavily distorted to straighten back out properly, replacment sleeves (ferrules) may be obtained: part # FBM 3823 (pack of 5 ferrules). Also, we strongly advise that you wear a pair of heavy leather gloves during the hose assembly process, as the stainless overbraid can poke you quite badly if you are not careful...


HYDRO-BOOST is a registered trademark of the Robert Bosch Corporation
WARNING: The stainless overbraid is very sharp and can cause injury if not careful. We therefore suggest you wear heavy leather gloves and work carefully while performing hose assembly.
Hydratech Braking Systems LLC
® ©
2023
***All Rights Reserved***
aaaaaaaaaaaaiii